Friday, June 24, 2022

K&S Precision Metal Blog Hop!

Hello Blogland, today I am bringing you an awesome metal embossed journal. Very honored to be included with a great group of designers who are hopping today. The blog hop list, sponsors & a list of supplies will be at the end of my post.

There are few things I love more then embossed metal, journals & ink. Putting these things together was a natural partnership. I also love color so using all the colors that were sent to me was just plain fun. For added effect alcohol inks were used to create even more color. Let's see how this journal was made. 

I started my project with a cereal box & the metals that were sent to me. Just love this rainbow of colors. These aluminum sheets are the perfect weight to be die cut or embossed.  Using Eileen Hull's Pocket Journal to cut the cereal boxes was a great place to start. The journal pieces were then put together using Redline Tape along the spine.

As I said embossed metal is just so striking, there is really nothing like it. I adhered the sheets to card board, using double sided adhesive. This gives them more strength which helps the embossed images stay put. 


 I knew I wanted all the colors on the cover & decided to create a patch work look. Cutting the 1st piece following the lines of the embossing folder gave me a starting point. I then drew the outline on a piece of paper to create a template. The template paper made it easy to draw the other shapes to cover my covers.


The paper template pieces were cut out. The paper templates were then adhered to the back of the embossed foil using Pixie Dots. These wonderful adhesive dots allow the paper to stay put while cutting the shapes out, then release easily without damaging the surface you are using. 
 

The 2 book cover surfaces were covered with double sided adhesive. This tape is really strong & great for using when you use it on the covers of albums that will be handled. This will make adhering the foil pieces to the cover easy peasy.


Once my pieces were all cut they were assembled on the covers of my journal. They didn't fit perfectly but that is ok. Some colored paste can be used to cover the gaps.

 Next step was to scuff up the metal. This will add dimension & texture to the images & help them pop. I used sand paper for this, you will want to be light handed to protect the embossing. For the silver piece I simply used one of the colors back sides.

  
When adding the silver piece was to bring in even more color. This portion was colored with alcohol ink. It took the color beautifully. Stream & Pitch Black were used. Simply dab the color on with a felt blending tool. 


 The plan was to cover the spine so use your favorite way to add elastic for the signatures to go in. I have a video showing how to string these books. Simply adjust depending on the number of holes. You can also just tie each signature in separately. The beauty of using elastic is your signatures can be removed to easily work in them.

You can see here my elastic cords are not even, as I said I wanted a covered spine so the elastics did not need to be tidy. This fabulous piece of fabric was glued to the spine area using Ultra Hold.


My book definitely needed some embellishments. The gears were cut using Sizzix bigz steel rule die. These were card board covered in foil & embossed then cut. For the moth like creature as the die is a thinlet & not as strong, card stock was covered to give it a little more strength but still be able to cut out. 

Some assembly required! The foiled embellishments were adhered to the cover. Then more details were added. The gears had some paint added on the high points just to add that patina look.  

Finally a chain was added with jump rings to the faucet knob. One end of it has a lobster claw for easy opening. Thanks so much to K&S Precision for including me in this hop. I hope you get a chance to play with these very versatile metals! 

 Very excited to be working with metal again, it has been ages & this is right up my alley. Was thrilled to receive these colored aluminum foils from K&S Precision Metals who are one of the sponsors of this blog hop. 

Another of our sponsors is Bella Crafts Publishing. Bringing lots of inspiration to you with their online magazine. "Bella Crafts is the #1 craft magazine that is always FREE for readers to view online or download. You will enjoy oodles of innovative and inspiring craft projects here. There is also a 20 Minute Craft section, when you think you don't have time to Craft...you will find these projects are oh so quick and easy to do...that you can find the time!"


Our final sponsor is  Designer Crafts Connection. "The Designer Crafts Connection is a group of premier Arts & Crafts industry designers who have joined together to share their creativity and design talents, to support and promote crafts in general, introduce readers to new project ideas, innovative manufacturer products, new trends and techniques and ultimately inspire creativity in others." You can find so much inspiration there. I hope you take the time to check out these fine companies! 

Supplies:

Tuesday, May 31, 2022

Lacrosse Shadow Box Duo for Eileen Hull & Sizzix

Hello Maker Fans, today I am making a Lacrosse Shadow Box Duo. This post is for my Eileen Hull Inspiration Team project for Sizzix. This month the theme is Leftover Loves, the stuff on your desk, recycled items, leftovers from another project etc. My item was the netting surrounding a fancy pear. I have a box filled with weird netting type objects, from orange packaging, cheese cloth & those colored puffs used for bath soap. They come in quite handy & I may cheat by buying them just to recycle. Part of this project is also to bring awareness to Morgan's Message. Morgan was a Div 1 lacrosse player for Duke University. She was high achieving, artistic, beautiful girl that struggled silently with mental illness & at the age of 22, took her own life. You can read more about her story here. Her family created a non profit that helps promote mental health awareness, especially among female athletes. Please hop over & take a look. Donate if you can. Get involved it you can. The message from the website... "Morgan’s Message strives to eliminate the stigma surrounding mental health within the student-athlete community and equalize the treatment of physical and mental health in athletics. We aim to expand the dialogue on mental health by normalizing conversations, empowering those who suffer in silence, and supporting those who feel alone. " 

Lacrosse is a big sport in my household & we are just winding down after being involved for about 14+ years. My husband played in college & then coached my son, who played through Varsity in High School. The school frowned on parent coaches, so my husband, wanting to still coach, wrangled my daughter into playing. She was all of 6 or 7 at the time. The learning curve was great as the sport is completely different from boys, & there are about 1000 more rules. It was quite funny to see my 6'5 husband try to wrangle these little girls into learning the sport as they giggled their way through practice. My daughter decided immediately to be the goalie & stayed in that position her whole career. I coached her and her goalie team mates for quite a few years as well.

Here is the ode to lacrosse box I made for my kids. Both my kids played high school under the number 24, in fact my daughter chose that number whenever she could as it was her older brothers. I love this keepsake and while it was challenging to figure out the logistics with the directional paper once that was done it was quite easy to make the boxes.I don't have a lot of step out photos but you can see how this box was made by going here. 


 I do have a hot tip for you. Placing the photo into the frame so it lines up well can be tricky. Putting Pixie Dots which are a removable adhesive dots makes it so much easier. Simply put a few dots on the back of your photo.


Place your photo on a grid background like a glass mat, lining up the top & side with the ruler guides. The photo will stay in position with the Pixie Dots. This makes lining up your frame super simple. Make sure your photo is at least 1/4" larger than the frame opening. 


Use a strong tape like Redline or Supertape & tape around the edges of the frame. Carefully lower the frame down on top of the photo, using the lines as a guide for proper placement. Shazam a personalized frame for your photo. 

To attach the 2 frames together the netting from a peach turned out to be just perfect. These pieces are just glued on and a tad fragile. I wish I had thought of it ahead of time as I would have used brads before the frame was built. It would have been tricky but more secure. 


Lastly I attached a chain & some charms to a lacrosse medal the kids had received. The clock represents all the time that was invested in the sport & of course their #24. Thanks so much for joining me today. I hope you have a chance to check out my teammates work this month as we play with all things left over! Have a great day. 

Supplies:

Tuesday, May 3, 2022

Eileen Hull Shadow Box with 49th & Market.

 Hello Eileen Hull fans, it is time for the start of a new month which brings about a new theme. 1st can I say... how the heck is it MAY???? Our theme for the month is Birds, Nests & Eggs. You can play along in the Eileen Hull Fan Club Facebook group. Hope to see you there. *Affiliate- some of these companies have given me product to use, play & experiment with. The ideas are my own but I tend to work with companies whose products I like so enjoy the inspiration.  **some of these links are affiliate, I receive a small percentage from the company at no cost to you. This helps me deliver free content!

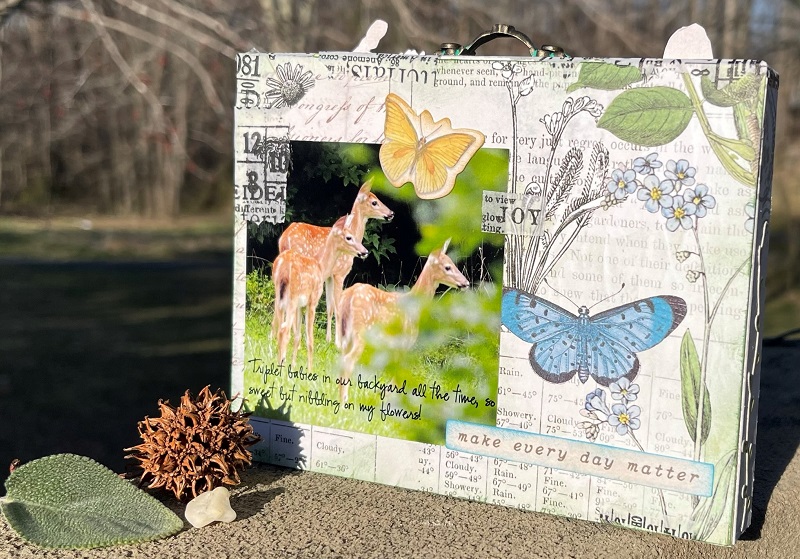
Here is one of the latest die cuts called Shadowbox Frame #2. I used 49th & Market paper which is really nice & sturdy and makes for a great frame. The collection is called Vintage Artistry, Hike More. It is harder to find as they these papers to sell out pretty quickly. You can find the link below & an alternate suggestion. 

I wanted to make the paper be directional & have some control over which elements showed on the front side. Therefore started by cutting a piece of clear acetate & marked the lines with a sharpie. Then made a diagram that showed which piece would be left side vrs. right side etc. 

You can see from this photo that in order for the frame to fit together you want the diagonal, with the tab portion facing inside and matched with a straight side end. Before I adhered the individual piece I cut out the butterfly & flower, using a kraft knife on a mat. Put a strong wet glue like Art Glitter Glue or Ultrabond on the inside of the tab & inside edge of that piece. Push the square into the space, the tab will fold as you do. Below is a video, which Eileen made.

If you want to see how the frame is put together Eileen shows you at the 12:05 minute mark. You can also watch the whole video to see the entire release! Hot Tip: Use a scoreboard or another tool that has a 90 degree edge so you can use it as a guide to keep the pieces square as you assemble. 

Once my frame was dry & nicely set up I measured the background paper & a piece of card board, cut and adhered to the back. This gives the frame more stability. Here is an example using different paper. You can cover both sides of the card board to create a nice backside piece.

Time to decorate! I cut out one of the houses from the Elements set using wood grain paper & covered it in clear embossing powder.  The door was embossed with Crackling Campfire Glaze, and glued in after.

This was adhered along with the picket fence from the same set. Also some ephemera from 49th & Market. 

Hot Tip: Take a piece of mat board & adhere a pixie dot to it. Pixie dots are a removable glue dot that will hold your paper but not tear the delicate die cut. That way you can heat emboss without using tweezers & having to touch your piece up.

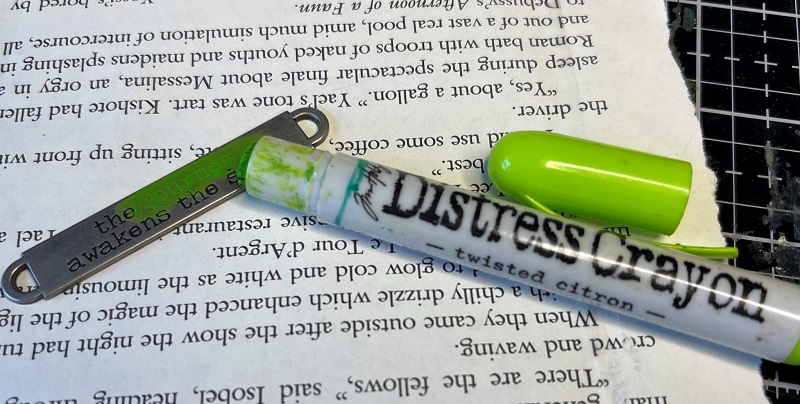
I wanted my metal title which is a word band, to show up. It was colored with Distress Crayon and adhered using Redline Tape. 

The top of my box was finished with some washi tape, this helped cover the holes made from cutting the images on the front. I also added a handle just for fun. 

The last step was to decorate the backside as well. Now my frame can be displayed on a table & be happy looking, from both sides. Bonus: I have a lovely table decor item that reminds me of my friendly hummingbirds! I hope you have the chance to make one of these cool shadow boxes, they are a touch addicting and also make great gifts. Be sure to check out the other projects that my teammates are making, & check back throughout the month. Have a great day!

Supplies:

LinkWithin

Related Posts Plugin for WordPress, Blogger...