Hello Eileen Hull Fans, I am here today with the Card Caddy which can hold 3D Embossing Holders! This month the Inspiration Team is working on the theme, Card Bonanza. This holder can be used to hold cards also & that was the idea for this post but I got really excited when I realized it makes the perfect decorated embossing folder holder. I am sure you can find other amazing ideas for this box as it is a great size!


Adhere the next side in the same way. My base is just a tad bit short so yours will look a little different.


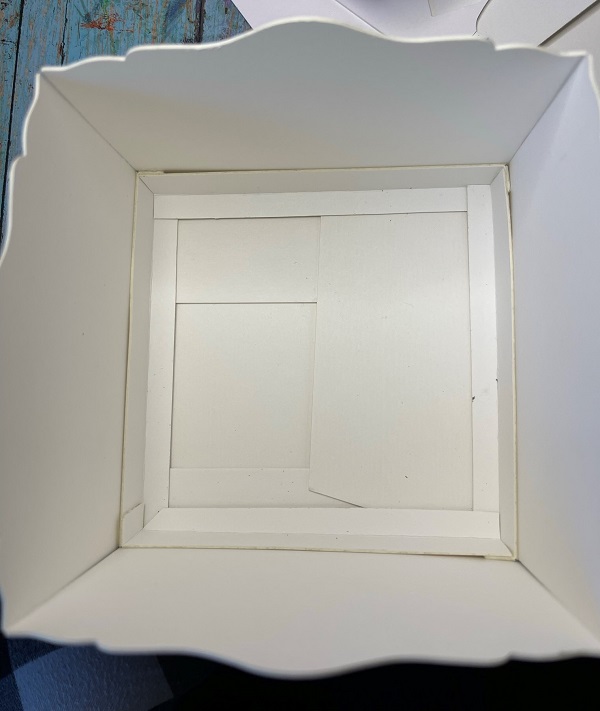
Line up the edge of the sides and adhere using a strong wet glue like Ultra Bond. I used masking tape to help it hold while the glue was setting.


Trim down the book sides to make them about 1" tall. Then trim the side that does not have the tab so it will fit inside the box. Add Redline Tape to the long & short tab.


While the box is drying, time to make the butterfly. I used quick cure resin and the newest Prima Mold. This resin sets in 15 minutes!

For the color I used Distress Spray Stains in browns, with a touch of orange & blue. While that was drying, went back to the butterfly.

The butterfly was painted with a coat of gesso 1st. This is important otherwise the paint will chip off. The gesso creates a foundation that keeps the layers together. I used Distress Paint in Salvaged Patina, Twisted Citron & Salt Water Taffy. Once dried it was adhered to the box using 3D glue by Prima.

Next up was my favorite thing to do & that is add Luster Wax to make the images way more dynamic. A bit on a hard piece of foam & simply hit the high spots.

For the sides and the quote Stamperia paper was used. I just love the images on their papers. Thanks so much for joining me today. If you aren't already make sure you join the Eileen Hull Fan Club on Facebook for lots of Live Video fun. Also check her blog to see all the inspiration my team mates have for you. Now go get inky!!
Supply List:
- Eileen Hull Card Caddy Scoreboard XL by Sizzix
- " " Skinny Mini Book Box" "
- Mat Board
- Luster Wax in Rose Gold, Gold & Silver
- Distress Stain Spray in Vintage Photo, Fossilized Amber, Salvaged Patina, Uncharted Mariner
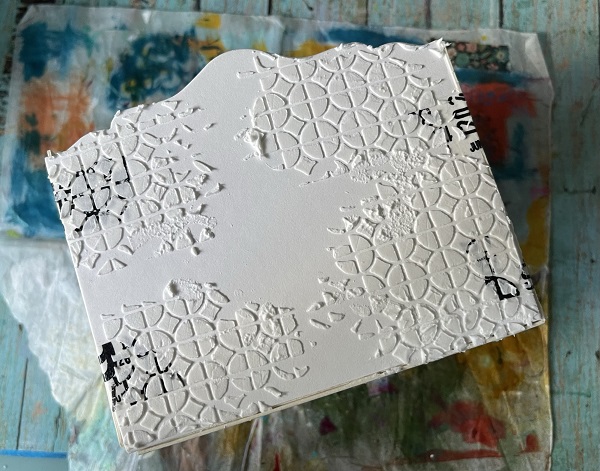
- Texture Paste
- Tim Holtz Stencil THS158
- Ultra Bond Glue
- Redline Tape
- Prima Mold Mecha Moths
- Quick Cure Resin
- Stamperia Sir Vagabond Aviator
