Hello Eileen Hull fans, it is time for the start of a new month which brings about a new theme. 1st can I say... how the heck is it MAY???? Our theme for the month is Birds, Nests & Eggs. You can play along in the Eileen Hull Fan Club Facebook group. Hope to see you there. *Affiliate- some of these companies have given me product to use, play & experiment with. The ideas are my own but I tend to work with companies whose products I like so enjoy the inspiration. **some of these links are affiliate, I receive a small percentage from the company at no cost to you. This helps me deliver free content!

Here is one of the latest die cuts called Shadowbox Frame #2. I used 49th & Market paper which is really nice & sturdy and makes for a great frame. The collection is called Vintage Artistry, Hike More. It is harder to find as they these papers to sell out pretty quickly. You can find the link below & an alternate suggestion.

I wanted to make the paper be directional & have some control over which elements showed on the front side. Therefore started by cutting a piece of clear acetate & marked the lines with a sharpie. Then made a diagram that showed which piece would be left side vrs. right side etc.

You can see from this photo that in order for the frame to fit together you want the diagonal, with the tab portion facing inside and matched with a straight side end. Before I adhered the individual piece I cut out the butterfly & flower, using a kraft knife on a mat. Put a strong wet glue like Art Glitter Glue or Ultrabond on the inside of the tab & inside edge of that piece. Push the square into the space, the tab will fold as you do. Below is a video, which Eileen made.
If you want to see how the frame is put together Eileen shows you at the 12:05 minute mark. You can also watch the whole video to see the entire release! Hot Tip: Use a scoreboard or another tool that has a 90 degree edge so you can use it as a guide to keep the pieces square as you assemble.

Once my frame was dry & nicely set up I measured the background paper & a piece of card board, cut and adhered to the back. This gives the frame more stability. Here is an example using different paper. You can cover both sides of the card board to create a nice backside piece.

Time to decorate! I cut out one of the houses from the Elements set using wood grain paper & covered it in clear embossing powder. The door was embossed with Crackling Campfire Glaze, and glued in after.

This was adhered along with the picket fence from the same set. Also some ephemera from 49th & Market.

Hot Tip: Take a piece of mat board & adhere a pixie dot to it. Pixie dots are a removable glue dot that will hold your paper but not tear the delicate die cut. That way you can heat emboss without using tweezers & having to touch your piece up.

The top of my box was finished with some washi tape, this helped cover the holes made from cutting the images on the front. I also added a handle just for fun.
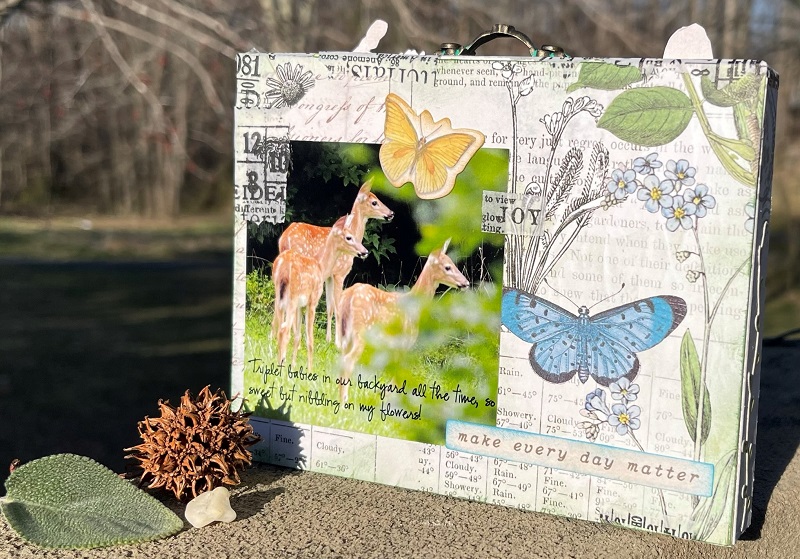
The last step was to decorate the backside as well. Now my frame can be displayed on a table & be happy looking, from both sides. Bonus: I have a lovely table decor item that reminds me of my friendly hummingbirds! I hope you have the chance to make one of these cool shadow boxes, they are a touch addicting and also make great gifts. Be sure to check out the other projects that my teammates are making, & check back throughout the month. Have a great day!
Supplies:
- Eileen Hull Shadowbox Frame #2 by Sizzix
- " " Shadowbox Elements by Sizzix
- Clear Embossing Powder by Sizzix
- 49th & Market - Vintage Artistry Paper
- " " - Collage Stack
- " " Botanical Collection
- Art Glitter Glue
- Thermoweb Pixie Dots
- " " Ultrabond
- " " Redline Tape
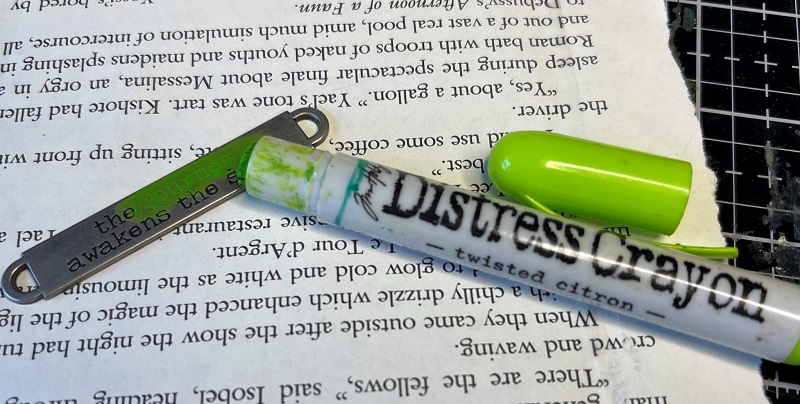
- Distress Crayon- Twisted Citron
- Distress Glaze- Crackling Campfire

Love your hummingbird frame Karen and great tip about laying your item to be embossed on a pixie dot! Why didn’t I think of that?
ReplyDeletelove it!!!
ReplyDelete