Monday, August 6, 2012

Junk Travel Book

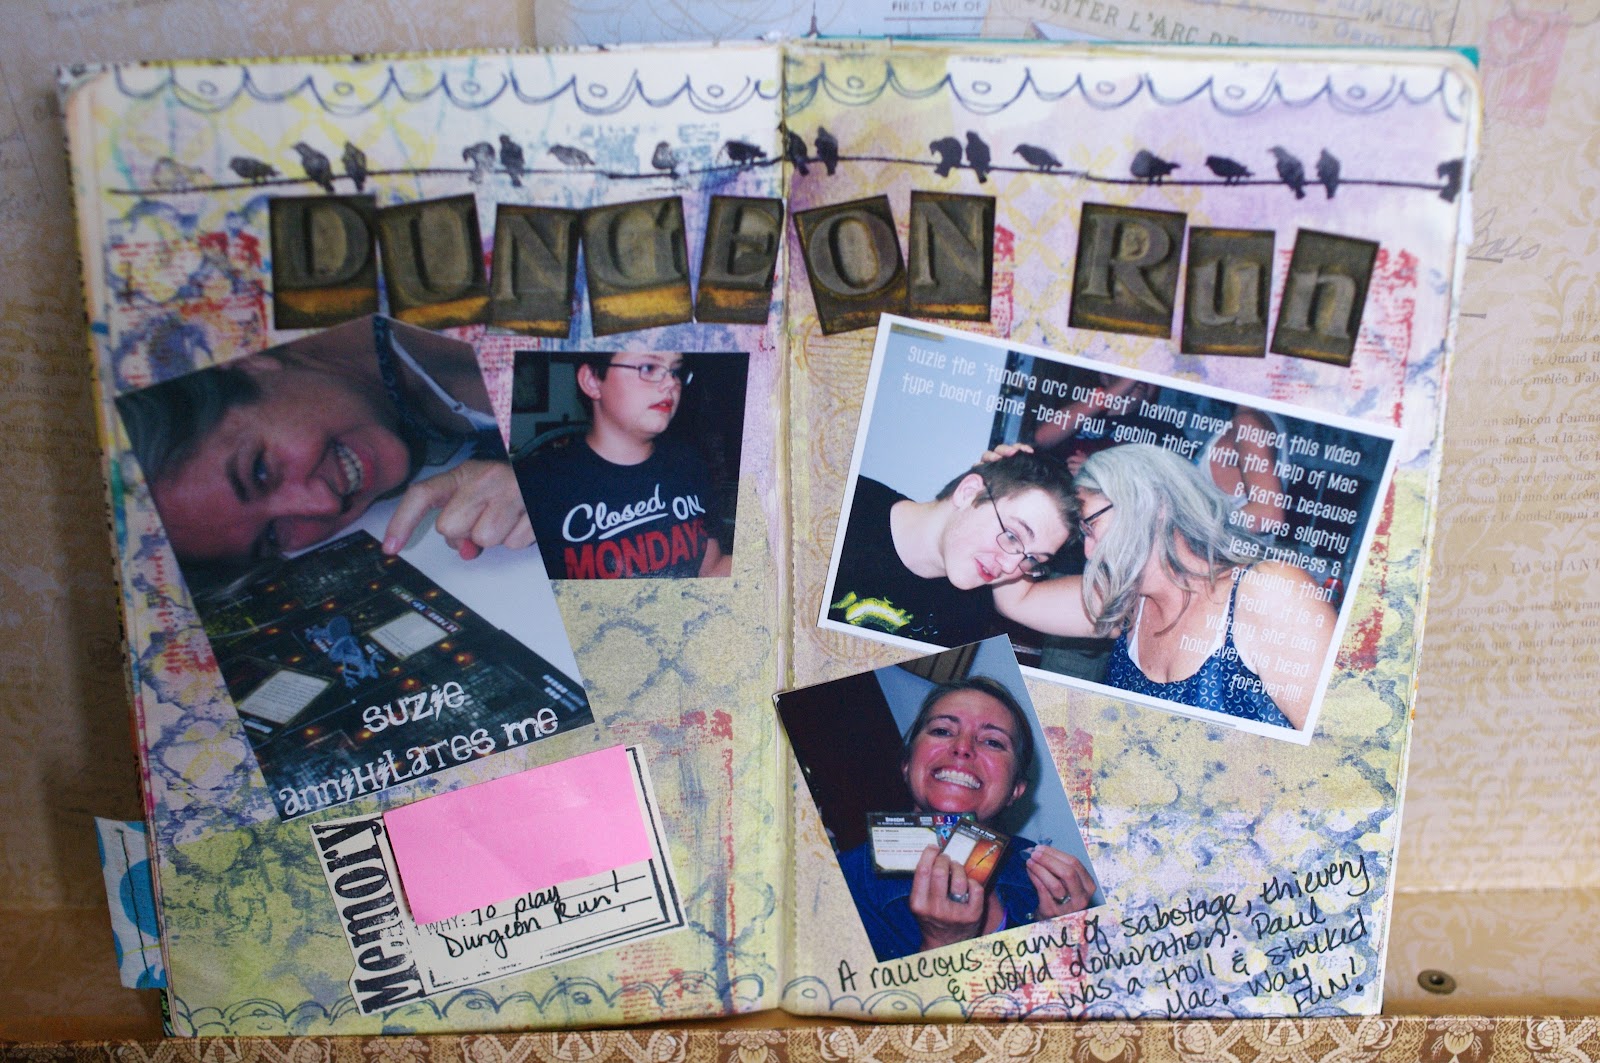
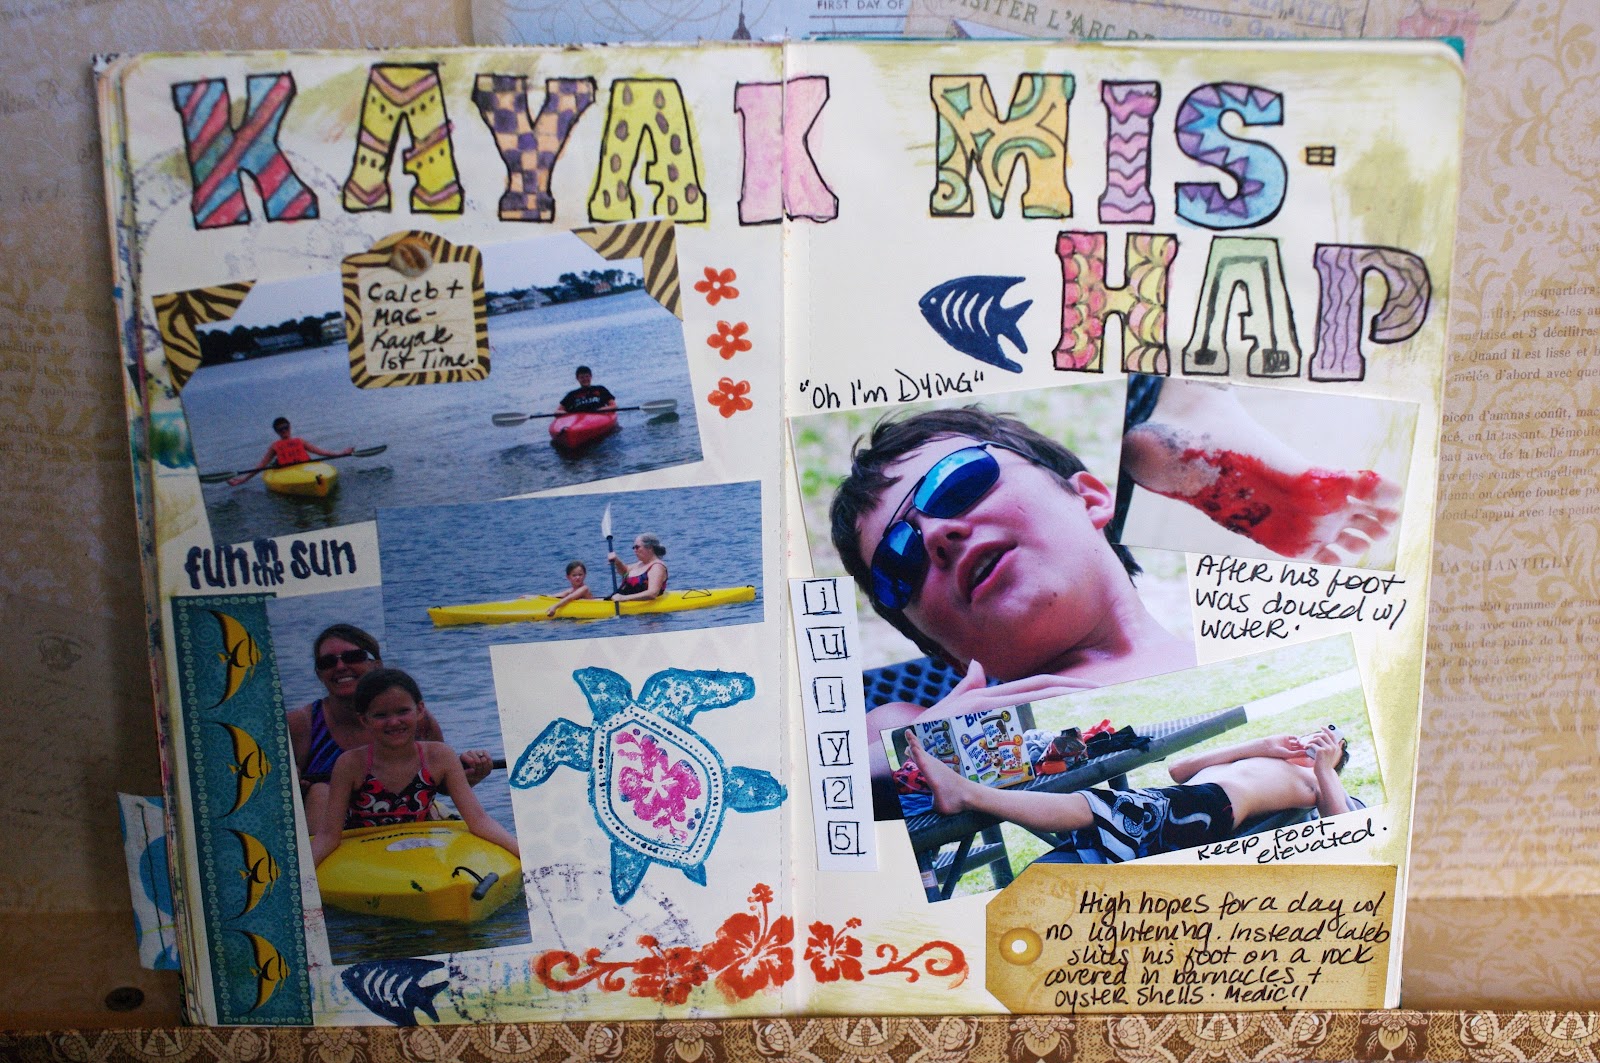
Traveling On vacation I really wanted to create some of my travel book while I was there. Part of vacation time for me is working on my personal projects & enjoying the freedom that creates. The inky goodness needs to be portable, quick and easy so I can snatch some me time in between vacay fun. I found this project on Ronda Palazzari's bloq & thought it was just perfect for my trip. Especially because I started it ahead of time, well the night before! This project has the junk book look & feel. Like Ronda, I also started with a moleskin book & covered it with the new super cool Trader Joe's recycle bag that had the perfect theme for my Florida trip! The cover will be finished last & I plan on using the handle from the bag as a wrap around closer strap. Here are the pages I have so far:


To print out the photos in the mixed sizes, I copied the photos to a publisher page & re-sized them and then printed them out. I tried not to get too picky about sizing & page layout just had fun slapping ink on the pages, printing in various sizes. The goal was to just have fun and get the memories on the pages!

I brought random ephemera, inks, stencils & stamps. My new favorite obsession is washi tape so I brought beachy colors & natural that I can color. You will notice the themes can be random-for example my beach page has Tim Holtz stamps on it from his bitty grunge set-not a fish in sight but I think it works as the ink colors are beachy. Same thing with my Imagine page- gears & bricks not so much association with the beach but to me it works because of the ink colors, just adds an edgy, cool feel to it. I had soooooo much fun playing in this book in fact I gotta go "spend travel recovery day" playing in it!!! Later!

Thursday, July 19, 2012

This was a fun page & a great way to add some inky goodness. I started with beautiful paper from Kaisercraft & added some inky stenciling. I put together a cluster of metal, buttons, and a Kaisercraft wood butterfly. Gave it a few spritzs of glimmer mist a la Anna Dabrowska.  I added my fun hipstamatic photos. This is a cool iphone app that makes the photos you take look like good old Polaroids. Some bling & ephemera- done. Super easy but looks fabulous up close!

Monday, July 9, 2012

Happy Birthday USA

Hi there people in blog land. Today I am posting a layout I did for a class recently that featured beeswax. I love working with beeswax & finally opened my Melting Pot by Ranger. One of the challenges for me is I don't always feel like bringing out the machines, it seems like a bit of an effort when you just want to quickly add something to a page. Other times I want to work on multiple projects at once & I don't mind dragging stuff out. Sound familiar? The great thing about beeswax is all you need is your heat gun to add a touch or more. I use the ranger heat gun to start getting the beeswax to melt & move to the standard but "windier" version to move the wax around. The standard gun is trickier to melt the wax as it blows the pellets, but you just need to keep the gun further away until the wax starts to melt & gradually move it closer to the project. 

I started with corrugated cardboard & added printed paper with decoupage glue. Next step was some dylusions sprays with stencils & random stamping to create the base. I layered my objects in with wax. Heating a thin layer & embedding the objects into the wax, than fusing the wax with a bit of heat. A fun technique is the stamp. I stamped the star on the bottom layer, put a thicker layer of wax over the area & let it cool a bit. When the wax was still soft using a stylist follow the lines of the stamp to create grooves in the wax. Add layers of wax over this area with a brush. Only natural bristle brushes work in wax as the heat melts synthetic. Also your brush cannot be cleaned, only reused with wax projects. Add the wax lightly, moving the brush in the same direction. The wax will adhere to itself. When the desired depth is reached touch up the lines with your stylist if you need to. 

Another product that works well with the wax is perfect pearls powder. I dusted the powder over the cooled wax around the edges to create a nice shimmer.  It binds to the wax naturally. If the powder is not adhering well either heat the wax just a touch to warm it or swipe it with perfect medium & apply the powder. Practice makes perfect so just go play!

LinkWithin

Related Posts Plugin for WordPress, Blogger...